Are your rainbird sprinkler heads left? Are you looking for a solution?Here, In this article, I will give you the best solution on how to adjust Rainbird sprinkler heads left stop.
There is no doubt that the Rainbird sprinkler is the best brand in the world. Most homeowners want a sprinkler system that is well-built, reliable, and relatively affordable. Rainbird sprinkler systems represent the gold standards. It is the best of the best.
Before giving the solution, I will tell you how it does work because it is the most asked question by the people at Google.
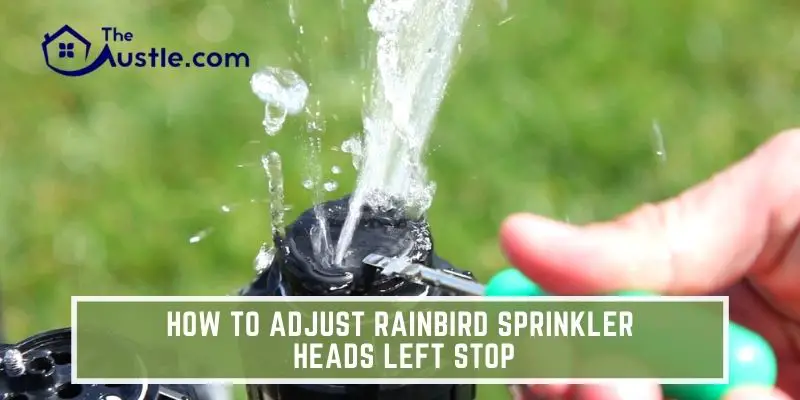
How to Adjust Rainbird Sprinkler Heads Left Stop
It is a typical system that consists of a controller. The controller means the functions play a role as the brain of the system. Valves, which means open and close to release and stop the flow of water to underground pipes and sprinklers by which it distributes water to specific areas.
It’s a common phenomenon that faces sprinkler users most often. Then I will share some pro tips on How to adjust Rainbird sprinkler heads left stop.
Let’s Start!
1. Begin adjusting by locating the Left Stop setting of the Rainbird Sprinkler Head
- Rotate the top of the sprinkler head to the Right side then back it to the left side.
- When the turret of the sprinkler heads turns to stop on the left side, It used to be known as the hardest stop.
- No matter how you use the key, the Head will always stop in the same place on the left side.
2. Left Stop Adjustment on Your Rainbird Sprinkler Head
- When we Use a pair of Channellock Pliers, it could rotate the whole Head to the right side as well as align the Head, If you want to stop the left side.
- By turning it to the right side, you are making a huge mess. If you set it to the left side, it could be good for the sprinkler head to fit.
- If you feel it is too hard to turn to the right, and then proceed to become the Head to the left.
3. Adjust the Right Stop of the Rainbird Sprinkler Head
- If the left side is set, then you can set the right side. You can use the key or a flat head screwdriver.
- Rotate the turret to the right side, and you turn it back towards the left side. If you want to stop the right side, so stop spinning it.
- After that, put the key or a flat head screwdriver insert then turn it to counterclockwise while it is holding the turret.
- To verify the adjustment, you have to Rotate the turret over to the left stop and back to the right.
- If you went too long, turn the key clockwise to increase the radius.
4. Adjust the Spray Pattern
- Once the rotation is set, you can now low the spray pattern system.
- Put the flat head screwdriver directly over the nozzle location until it engages a flat head screw.
NOTE: Sometimes, It is too hard to get locked in, especially when it has been overgrown with dirt. You can peel back comfortably to the rubber dust and observe how the key needs to be aligned with Head.
- If you want to decrease the spray pattern and increase the counterclockwise, you have to rotate the nozzle adjustment screw. Please don’t turn it too long to the left. It will cause the adjustment screw to back out, and you will never find it.
5. Verify the Adjustment
- When it has the full range of motion than rotate the Head and ensure it is starting and stopping correctly
- Next, switch the Head nearly to the left side and allow the Rainbird 5000 Sprinkler Head to finish the rotation on its one.
NOTE: Sometimes, the heads will rotate differently on their own, sometimes more and sometimes less.
- I Repeat that Step 2 or 3 as necessary.
Setting the RainBird 5000 Series left-hand edge stop of the sprinkler spray can be difficult if you don’t know a few things first.
The +/- adjustment will adjust the right-hand stop, but you have to set the left-hand stop manually. Just turn the sprinkler head with the turret set to the left hand and fixed edge to the furthest left if you want the Sprinkler to spray. You can then adjust the left-hand stop.
- The left-hand stop is fixed on a Rain Bird 5000
- Start with the Sprinkler set at the left edge so the turret can’t turn anymore
- Tighten the Sprinkler onto your turn seal fitting so that the left stop is matched up with the furthest left side you want the Sprinkler to spray.
- Proceed to use the Arc adjustment to set the right-hand stop.
So, now you know the whole thing and method how to adjust Rainbird sprinkler heads left stop. Let’s know about the hydraulic calculation of Sprinkler. It is also important for the right sprinkler structure.
Hydraulic calculation of Sprinkler
In the short term, calculating the minimum flow from a sprinkler to an irrigation area has some methods. Firstly it needs to multiply the area by the required density. It is the actual area of the room used (13′-0” x 13′-0″ = 169 sq ft), and it is computing the same way as the maximum area of coverage for a sprinkler.
Which is doubling the furthest distance from the adjacent walls which measurement is [(7′- 0″ x 2) x (7′ -0″ x 2) = 196 sq ft.)]
For a place like this with a K5.6 sprinkler k-factor, it would make a difference between delivering 19.6 GPM to a site (0.1 GPM/sq ft x 196 sqft) and 16.9 GPM to a room (0.1 GPM/sq ft x 169 sqft).
Bottom Line
So here are some effective methods of how to adjust Rainbird sprinkler head left to stop. This method will remove your trouble with your sprinkler head left. Hopefully, these are helpful to you. So, Why are you waiting? Getting up and setting your Rainbird sprinkler head.
- The Ultimate Best Guide To How To Dispose Of Unused Lawn Fertilizer!
- Manage How To Dispose Of Old Herbicide: Excellent Ideas in 6 Wise Ways
- How To Clean Brush From Woods Without Mistakes
- How To Redo Rock Landscaping: 2 Best Strategies You Should Try
- How To Clean Up After Edging Lawn: 6 Effective Steps
- How To Reseed Sod : Best 5 ways
- How To Sharpen A Lawn Mower Blade With A Grinder in 8 Easy Steps