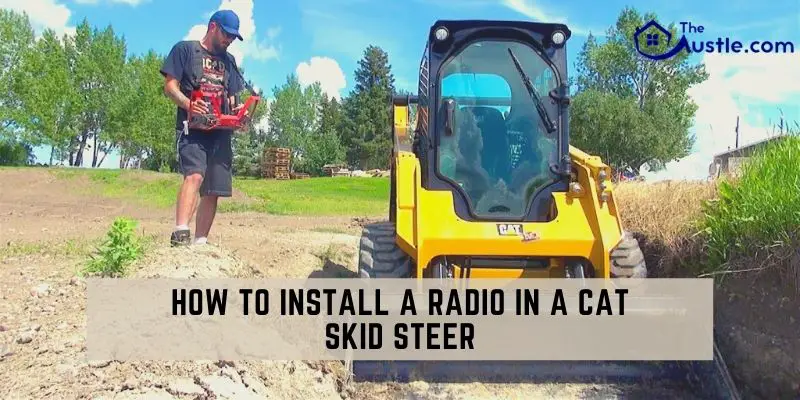
Have you interested in how to install a radio in a cat skid steer?
Caterpillar offers a line of rugged radios and accessories that can withstand the most robust applications in machines, on-highway trucks, boats, or the private sector. Cat skid steer Radios and Accessories also are designed to resist both hot and cold temperature extremes.
So please follow the 13 steps with how to install a radio in a cat skid steer. Hopefully, it will be more comfortable and easy to install.
How To Install A Radio In A Cat Skid Steer
Step: 1
this is the first step about how to install a radio in a cat skid steer .SRC/PWR (Source/Power) Press to switch to FM -> AM -> WX -> SXM -> CD -> USB/iPod ->AUX -> Bluetooth Audio (if equipped) and to turn Radio ON. Press and hold to turn the radio OFF.
One Hour Timer With the ignition off, pressing the source or power button will turn on the receiver and activate the receiver’s one-hour timer. The receiver will turn off after 1 hour or by pressing and hold the SRC/PWR button.
step: 2
for VOLUME KNOB/OK, Press for less than 3 seconds to display Audio Control Menu. Pressing for more than 3 seconds to show the user menu. Rotate to increase/decrease the volume or during a menu for navigation. Press while in a list to confirm the selected action.
Step: 3
PREV (Previous/Reverse) Press to select the previous track or station. Press and hold for FR or Tune Down NEXT (Next/Forward) Press to choose the next path or station.
Step: 4
Press and hold for FF or Tune-Up EJECT Press to eject the CD Phone Press the Phone button for more than 3 seconds for the Bluetooth Menu. Press the button for the Dial Menu during Bluetooth is enabled.
Press the button for at least more than 3 seconds. Then it transfers the call from the radio to the Phone.
Press CLOCK/ALARM during Alarm activation to cancel the Alarm.
Step: 5
SCAN/ASCAN Scans stations/CD tracks/MP3 files and folder and in-tuner stores stations to preset PLAY/PAUSE Press to pause/unpause current Media.
RPT (Repeat) Press to repeat the current track. Press again to stop a repeat. For the RPT icon on the radio, display to turn this option ON or OFF.
Step: 6
BROWSE Press to navigate the device and select a specific song or play context (Applicable to USB sticks, CD MP3 discs, and iPod). Press RDM (Random) to play the tracks. Press again to stop random mode.
Press ESC (ESCAPE) to exit one Menu Level. If the system connects with Bluetooth, press the ESC button during Bluetooth call operation to reject or cancel a call.
Step: 7
Press DISP (DISPLAY): to change source display Press for more than 3 seconds to show the Clock for a short time.
Step: 8
Radio (Audio source): To access AM, FM, iPod, USB, Rear Aux, Front Aux, CD, or BT Audio: 1. Press the SRC radio button to move through the options. Then select the desired option. 2.
Press the SRC radio button and then scroll the source menu by knob rotation or NEXT/PREV short presses and press CD/MP3, USB/iPod, Front AUX, and BT Audio accessed if the radio model supports them.
A device is connected/inserted for that specific source. AM-FM-WX Radio Tuning: Set the desired “Tuner Configuration” following the steps in the Menu section.
If the radio set to manual, the radio will allow for the execution of the following functions:
- Execute manual tuning when the NEXTor PREV buttons are short pressed.
- Execute Seek when the NEXTor PREV buttons are long pressed.
- If the radio is set to Auto, the radio will execute the following functions:
- Execute Seek when the NEXTor PREV buttons are short pressed.
- Execute manual tuning when the NEXTor PREV buttons are long pressed.
Step: 9
During the procedures about how to install a radio in a cat skid steer, the receiver will display “NO STATION FOUND, “If a tunable station is unreachable. Tune the desired frequency, long-press any of the Preset buttons until the radio beeps. For Tuning Radio Station Presets, Short press any of the Preset buttons.
The frequency stored at the present location is optimized while the button is released. Scan the Scan function, short press the SCAN/ ASCN button. When SCAN starts, the radio seeks up in frequency and stops on the next energetic frequency for 8 seconds before seeking the next secure station.
Step: 10
Auto-scan stores the most influential six stations of the current band in the presets until the radio is powered off. AUTO SCAN does not store the frequencies on the presets on numerical order. Frequencies are stored in which they were found and on the quality of the spectrum.
To initiate the AUTO SCAN function, long-press the SCAN/ASCAN button until the radio gives a beep. the “AUTO SCAN” icon illuminates while the mode is active. To optimize any of the six frequencies or save new presets, follow the steps defined in the Presets section.
Step: 11
To exit and return to the original presets, execute any of the following actions: 1. Press and hold the SCAN/ASCAN button 2. Press the SCR/PWR button. 3. Turn off the radio. 4. Perform an ignition cycle 5. Disconnect the battery. The receiver can tune the seven weather channels following the steps in Tuning, Presets, and SCAN sections.
Step: 12
To change the current display view, press the DISP button. On the displayed text, the radio uses the following:
1. Channel Number: CH 2. Channel Name: CH 3. Artist Name: ART 3.Content Info: INFO 5.Song Title: SONG 6. Category name: CAT. To change the current category, long-press the NEXT/PREV button. The radio will tune the first channel next. When disabled, the CATEGORY icon will turn off.
Step: 13
PRESS OK TO CONTINUE – To remove the message and return to the previous state, press “OK.” CH UNAVAIL – Requested channel is unavailable for a newly selected channel or the currently selected channel.
Unavailable channels are in the legal channel range but are not now available for display or subscription as a broadcast service. After 3 seconds, the previous channel’s tune will start.
Models to Choose
You can choose from five models, from a primary AM/FM receiver to premium radio that includes Satellite, Bluetooth, MP3, USB, auxiliary port, and more. All models include the following specifications:
- Exceed shock and vibration standard
- Withstand temperatures from –40º to 185º F (–40º to 85º C)
- Weather band
- Worldwide frequency compatible tuner.
There are several options to operate like category, volume, channels, display, clock, playlist, exit, enter, play, and pause. Without knowing their way to handle may make you trouble installing. The buttons, RSA, or steering wheel control The Radio system.
Conclusion
Finally, about how to install a radio in a cat skid steer, Some precautions should obey. Use in a 12-volt DC negative-ground electrical system. Disconnect the vehicle’s negative battery terminal. When replacing the fuse, be sure to use one with an identical one.
If you have parked the car for a long time in hot or cold weather, wait until the vehicle’s temperature becomes normal before operating the unit. Do not raise the volume level too high. Keep the volume at a level where you can hear outside warning sounds. Stop the vehicle before performing any complicated operations.
- How To Remove Pavers? 6 Easy Steps For You
- How To Fix Plastic Gas Tank On A Lawnmower – 7 Easy Steps
- 20 Easy Steps For How To Test A Time Delay Module
- How to Start A Bush Hogging Business Effectively in Best Ways
- How To Remove Purple Primer from Hands – 7 Easy Steps
- How To Get Rid Of Thorn Plants? 7 Best Ways
- Want To Know How To Mow Steep Ditches? 5 Best Tips