A lawn leveling rake is one of the many important lawn tools that gardeners need and really put their attention on when buying. However, not everyone has the budget or maybe the mindset to separately purchase all the gardening tools available. Some may want to put their effort into DIYing and make themselves a self-made version that might not be as best as the store-bought option but still worth the use and try for the moment.
And that’s basically what we have in our mind as we take the step of writing about how to make a lawn leveling rake at home. Please keep in mind, that the version we will be making in this tutorial is a self-made one and so, it will be short on some areas compared to a specifically designed professional version of lawn leveling rake.
So, if you manage to gather the budget in near future, then definitely try investing in one. Now, let’s start with some handy tips and tricks to later discover the guide to making this wonderful gardening tool.
What To Keep in Mind When Making A Lawn Leveling Rake
Do you want to take care of your yard bumps but don’t have the money to buy a tool? Then, it’s time for you to learn about how to make your own lawn leveling rake at home. Creating a leveling rake is a hard job if you don’t know the process and tricks.
Making lawn leveling rake will be easy or hard depending on the size.
If you have a yard or garden that is small, then it’s better to make a smaller lawn leveling rake. Similarly, a large lawn leveling rake is needed to handle big yards. Depending on that, you need to build one. Here are some tricks that will help you make a lawn leveling rake.
Cover Your Hand
Before you head to create a homemade lawn leveler rake, it is better to protect your hand. Basically, if you work with your bare hand, this thing may cause damage.
Just take a good pair of gloves to wear before doing the actual process.
Work On A Neat Workspace
Another thing you need to check is the right workspace to work on it. Before you head to how to make a lawn leveling rake tool, it would be helpful if you work in a neat and clean workplace.
Do you want to know about the decent workspace? Just be sure all the tools you need are on the workspace and take out all the extra tools for making a decent workplace to work comfortably.
Carry Good Quality Tools
When making a lawn leveling rake, it would be a great help if you hold good quality tools. A cheap quality tool for making a lawn leveling rack can be break or crack easily. Especially, the nuts and bolts should be tough to stand long.
Learn About The Dimension Of Rake
Most lawn levering racks are in a specific dimension to use on different types of fields. To make the ideal lawn leveler tool DIY, it should have a good length, width, and handle size.
Makes sure the dimension of the lawn levering rack is right in order.
The levering rack length should be up to 30-50 inches. Also, it should have good width too. Besides, the handle of leveling rack should be 60 to 78 inches.
How To Build A Lawn Leveling Rake
Making a lawn leveling rake is a big job that needs the right tools and processes. Just check your land whether it is large or small to ensure the right formation of levering rake. This method is quite detailed for you to follow easily each step.
Use solid and tough materials that won’t rust to make a lawn leveling rake.
Makes sure you are doing the following process in an open place that won’t give irritation or create a mess. Also, wear your gloves when making to get rid of dust. Before you go to the steps of building a lawn levering rake, grab all the following tools to do the job well.
Tools That You’ll Need
- An Impact Ratchet
- 5mm & 3mm Hex Bit
- M8 & M10 Drill Bit
- Two 12-Inch Aluminum Angles
- Two 24-Inch Aluminum Angles
- Three 24-Inch Aluminum Channels
- M8 x 20mm Counter Sunk Bolts
- M8 x 35mm Counter Sunk Bolts
- M8 & M5 Lock Washers
- M8 & M5 Washers
- 10 M5 Nuts
- 2 M8 Nuts
- 1 Broom handle
- 1 Broom Adapter
- 1 Broom Bracket
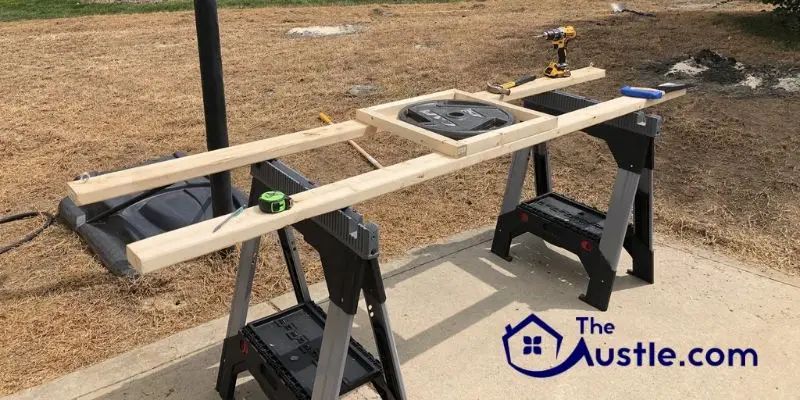
Step-1: Making The Levering Rake Frame
First off, you need to learn about how to make a lawn lute using aluminum angles. Now, grab your impact driller to make a hole on the aluminum angles. Use to drill an M8 hole using an impact driller.
After that, test out if the M8 screw fits inside the hole or not. It should fit very deeply against the frame. Then, we have used scrap wood to angle out the aluminum in the right way. Again, drill the wood to make an ideal hole.
Makes sure you are making a hole by knowing which piece is right on top and downside. Try placing 24” piece on the upper side and 12” piece on the bottom side. This way you can avoid misalignment.

Next, we have to make holes on 4 corners using an impact driller. It’s now time to insert the M5x20mm bolts on the bottom section along with the lock washer, washer, and nuts orderly. And, tighten out the bolts with the impact driver using a decent hex bit.
After doing the bottom part of the frame, we again use the scrap wood on the mid and upper sections to make the right length. You should do the same process to fit on the mid and upper side using bolts, lock washer, washer, and nuts arranged.
Step-2: Setting Up The Channels
In this step, you’ll know how to build a lawn leveler. Basically, this process needs the right measurement to do process well. Now, place the aluminum channel in the middle one.
Just be sure no matter where you place, it should give good gaps to insert the other two. Then, attach the other two on the upside and bottom side then adjust well to make each gap as equal as possible.
Hex Standard Fastener Hardware Assortment Kit Set 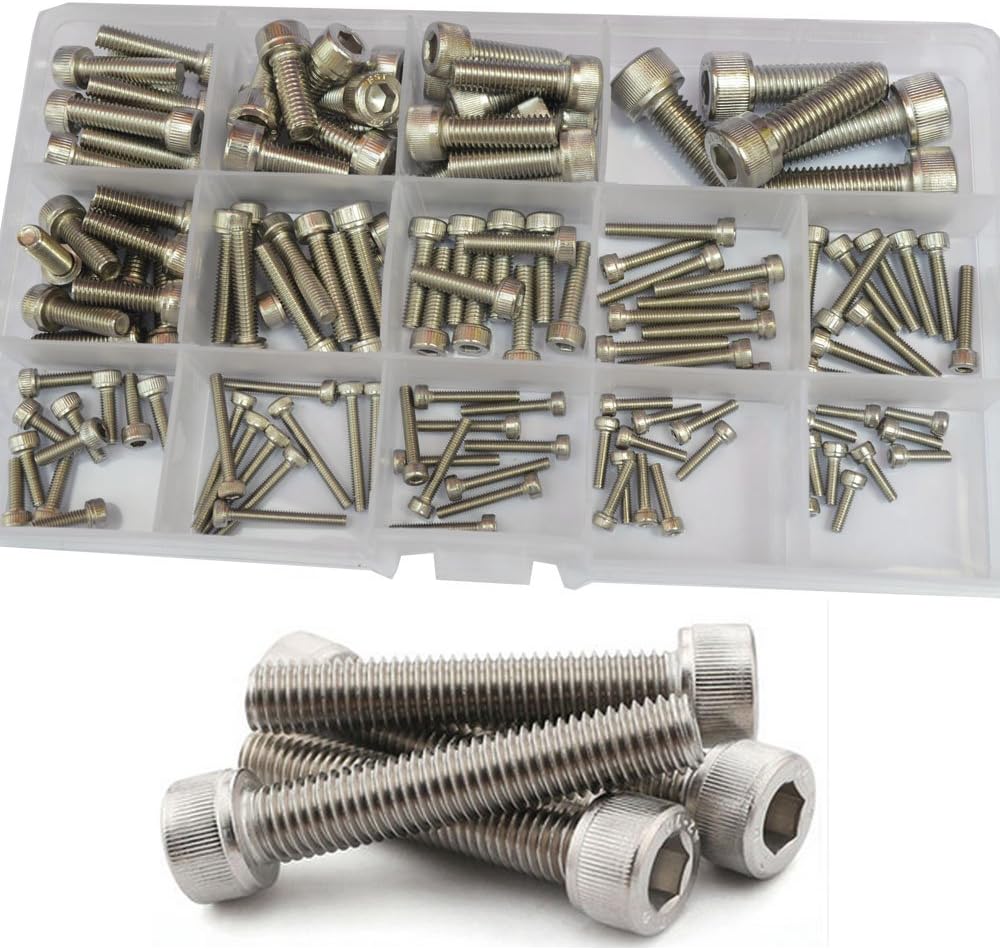
- Trouble-Free To Use
- Solid And Firm
- Handy And Portable
Carefully, make a hole on the channels that align them ideally. You only have one chance so try making it right to avoid misalignment. Try using scrap wood to ensure top and bottom section right drilling.
Also, be sure the hole you have made is M8 to fit the nuts well. Next, insert the screws and M5 bolts from the bottom with the lock washer, washer, and other nuts. Then, do the same on the top sides. Take the hex bit inside the impact driver to tighten the nuts well.
Step-3: Align and Inserting The Bracket
Once you have done the upper steps, it’s time to align the middle channel inside the frame. Also, put a bracket on the top section of the middle channel by making a decent hole. Makes sure to use a 5mm drill bit at first to craft pilot holes.
Next, hold the scrap wood on the frame to drill M8 pilot holes in the right place. Then, use the M10 drill bit to make the hole bigger. Take the M8 bolts and insert them from the bottom to fit well. Also, insert the bracket, lock washer, washer, and nuts over them.
QTEATAK Flat Washer & Lock Washer Assortment Set 
- Last A Good While
- Reasonable Price
- Safe And Convenient
Once you have done placing all the nuts, now use the impact driver using the hex bit to tight out the nuts.
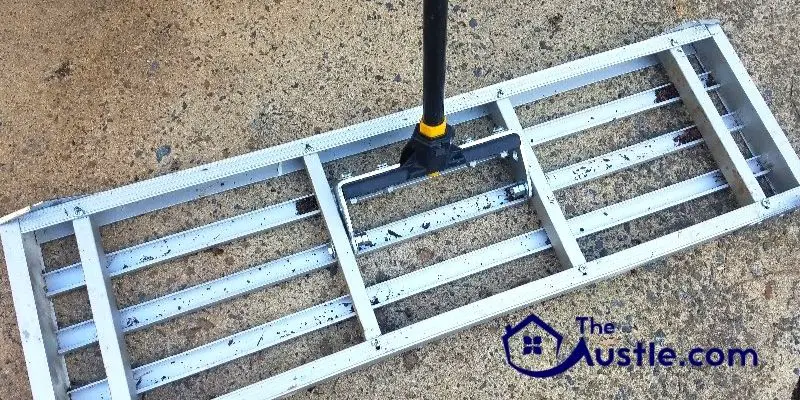
Step-4: Fitting The Handle And Trial
Be sure at this point the rake you just made doesn’t have flex as it needs to push dirt and waster. Try twisting it around to makes sure there are no loose nuts available.
If you find any loose nuts, immediately tighten them out to avoid flex. Now, it’s time to attach the broom handle on the rake you just made for holding comfort. Makes sure every part is tight and clean. Then, attach the broom handle to the broom adapter by twisting it firmly.
Once it is done fitting the broom handle, try the leveling rack on your yard dirty areas to make sure it works fine by pushing forward and backward.
Rubbermaid Commercial FG636400LAC Lacquered-Wood Handle 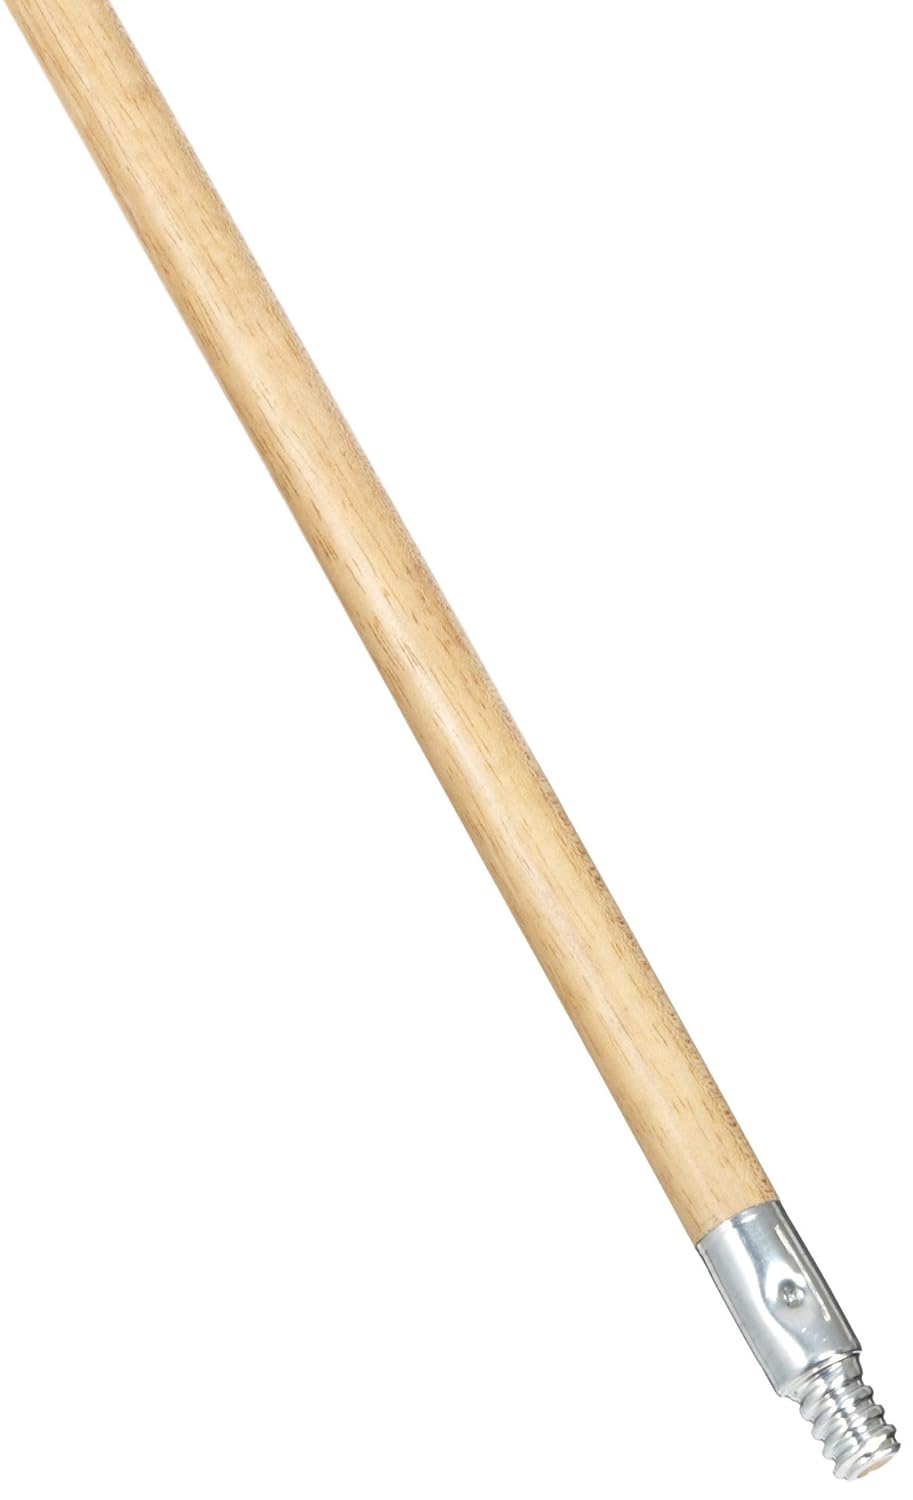
- 60 Inches Long
- Heavier Yet Comfortable
- Painless To Hold
One thing we want to clarify that this DIY lawn leveling equipment is decent for taking care of small grasses. That means it would give trouble on long grasses if you harshly use them.
Try using this leveling rack after you have mowed your yard. Also, we find this leveling rack good to level out sand, low spots, or dirt easily.
Final Verdict
Once you have done reading this guide, we hope it helped to give an idea about how to make a lawn leveling rake. However, you need good study and research to make a leveling rake.
Now, you have learned about all the steps to do the process at ease. A DIY leveling rake will work fine to even out lawns and bumps for giving a beautiful yard look.
Luckily, our given method is very easy and efficient to make your yard look clean, free from lawns, and wastes. If you don’t have the capability to buy a new leveling rake, just try this method to make a DIY lawn leveling rake. Best Of Luck!
- How To Melt Ice In Yard – 5 Effective Methods For You!
- How To Excavate A Hill : Know In 3 Minutes
- How To Level A Yard For Sod: With 11 Easy Steps
- Do you know how to make a lawn leveling rake at home?: Easy Way
- How to Cut Metal Garden Edging: Following 7 Easy Steps within Few Hours
- How to Measure Lawn Mower Cutting Height: A Complete Guideline
- How to Edge Around Trees: 7 Easy Steps to Follow